
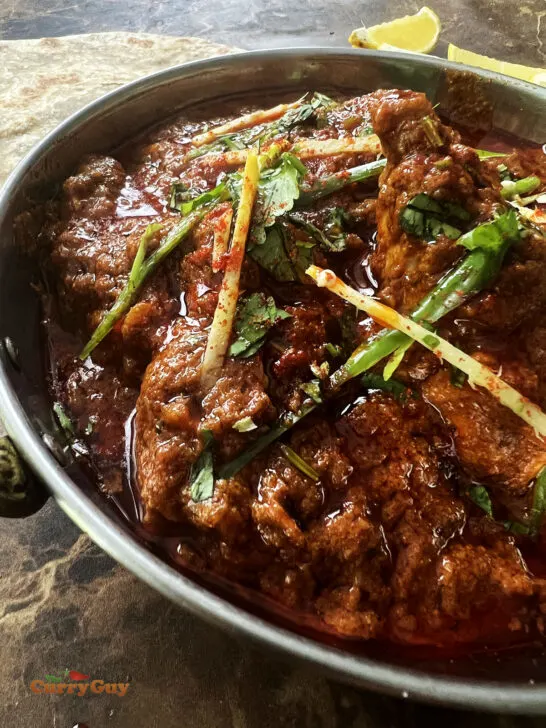
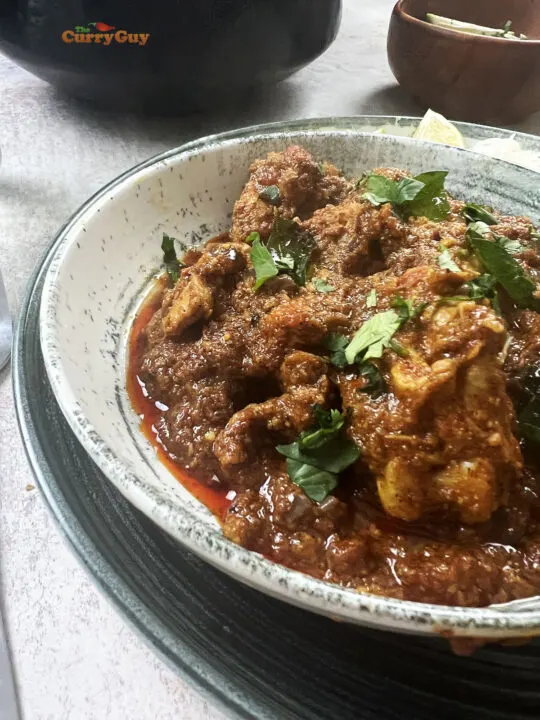
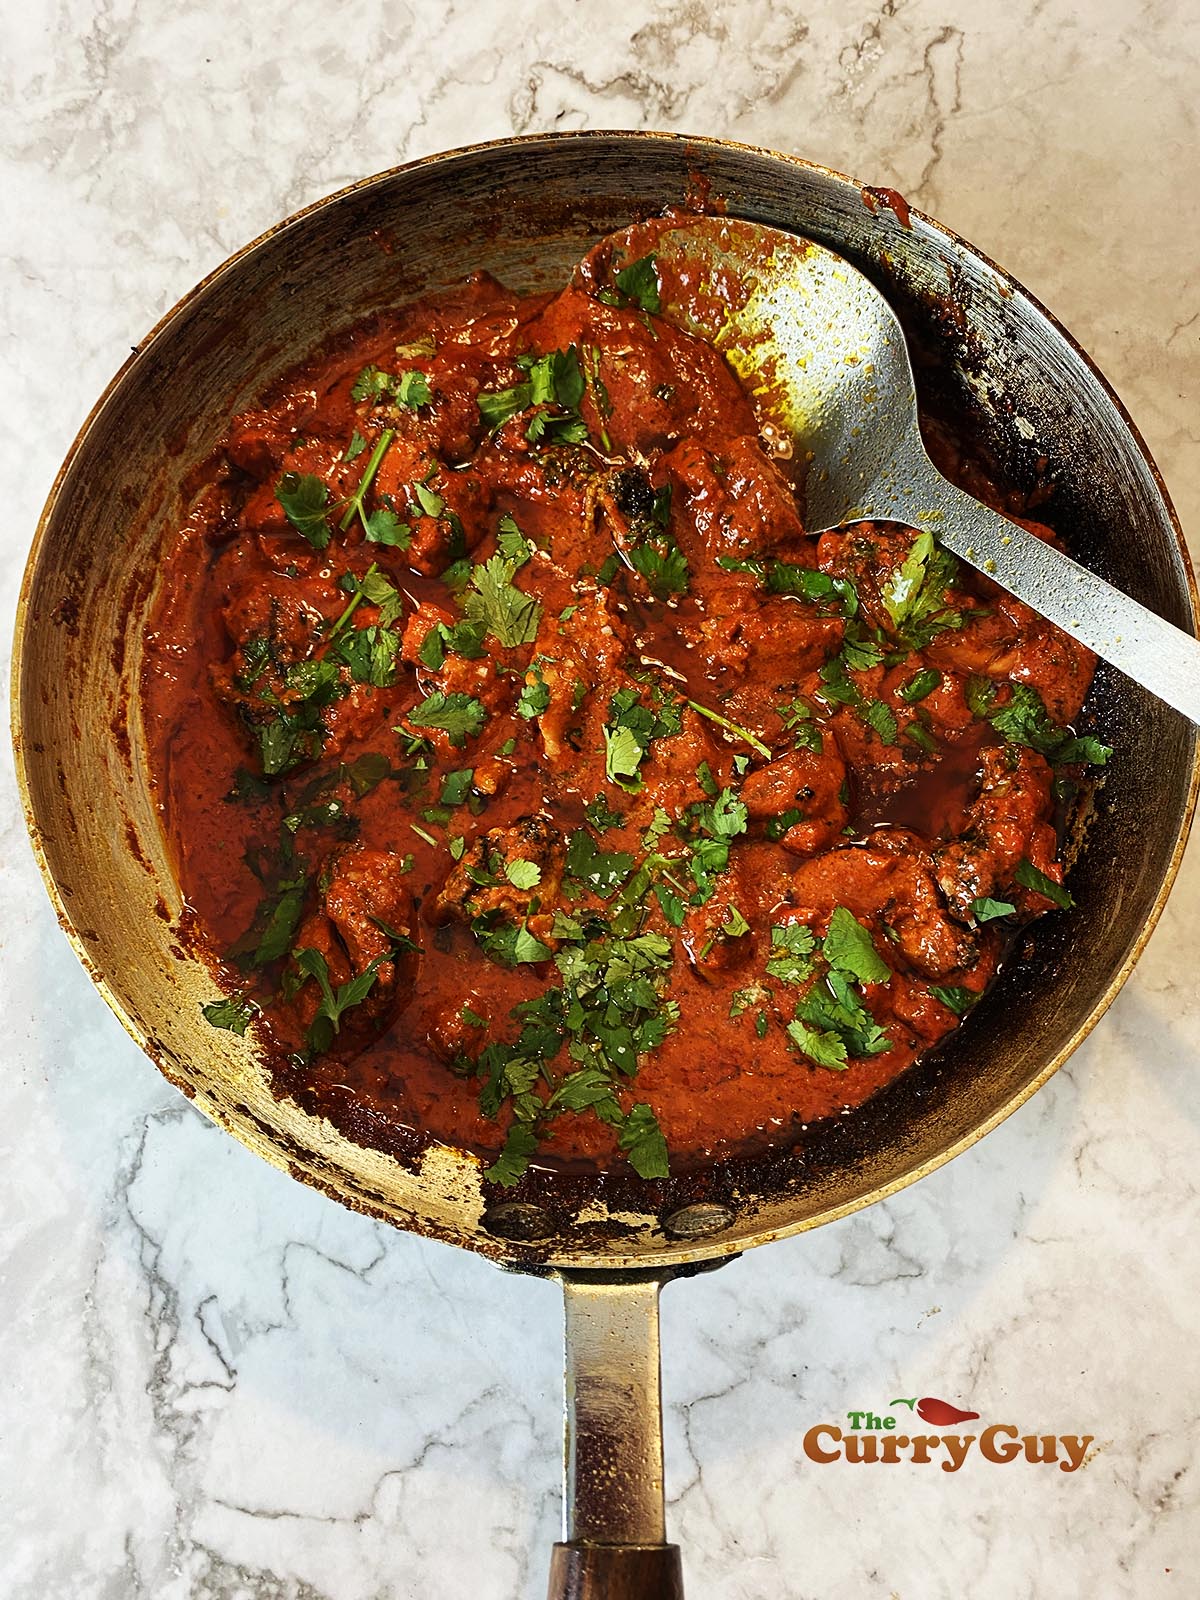
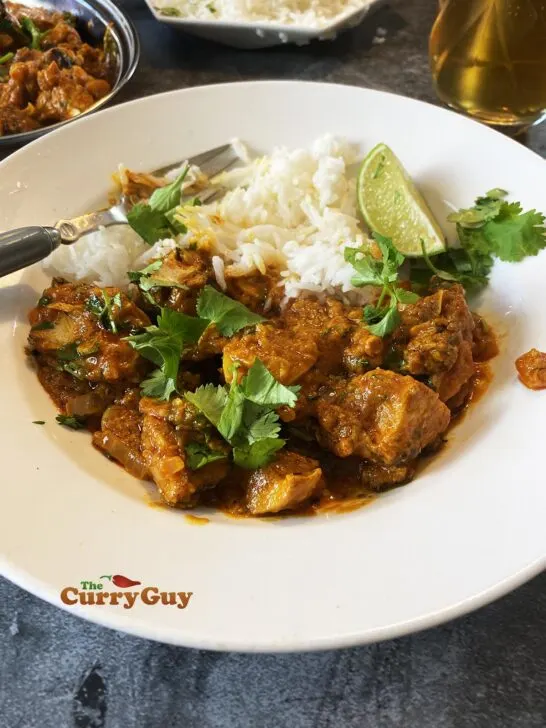
Chicken Changezi
You are going to love this proper Old Delhi style chicken changezi! These days, it seems everyone is trying to eat more healthily, including me. That’s a good thing but …
You are going to love this proper Old Delhi style chicken changezi! These days, it seems everyone is trying to eat more healthily, including me. That’s a good thing but …


You will get fantastic results using this air fryer chicken tikka recipe. Ever thought about making tandoori chicken tikka in an air fryer but weren’t sure if it can be …
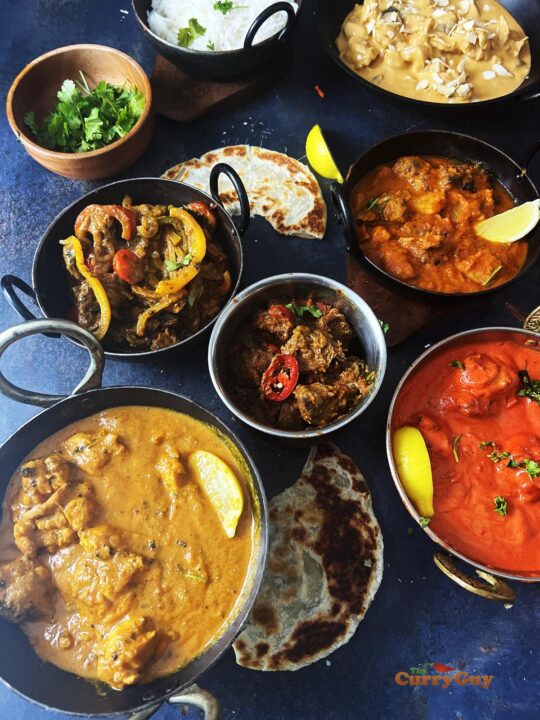

These one pan Indian restaurant curry recipes get restaurant quality results! One of the questions I get asked most is whether you can recreate curry house style curries without base …
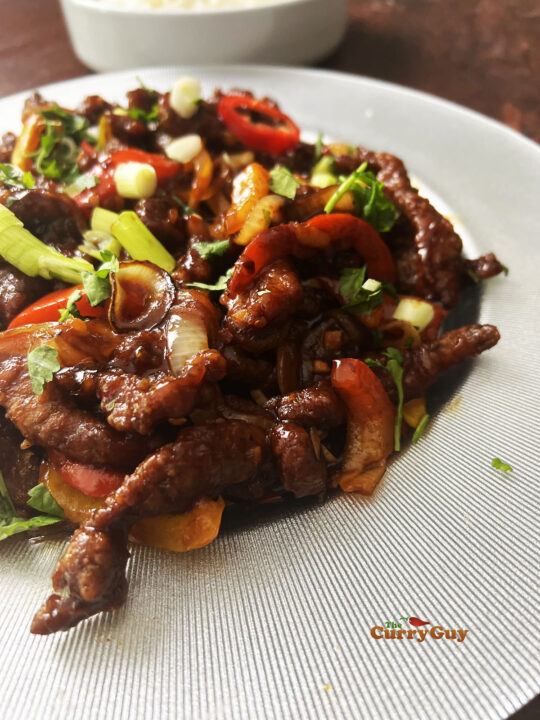

Deliciously sweet, tangy and spicy… Make Chinese crispy beef at home! I love Chinese crispy beef and always order it when I want to treat myself with a Chinese takeaway. …

Make British Indian restaurant (BIR) style beef madras curry in no time! Many people want to make British Indian restaurant (BIR) style curries but can’t be bothered with preparing the …


You can make doner kebabs at home that are even better than the takeaway! One Christmas I was given a small rotisserie so that I could make doner kebabs at …
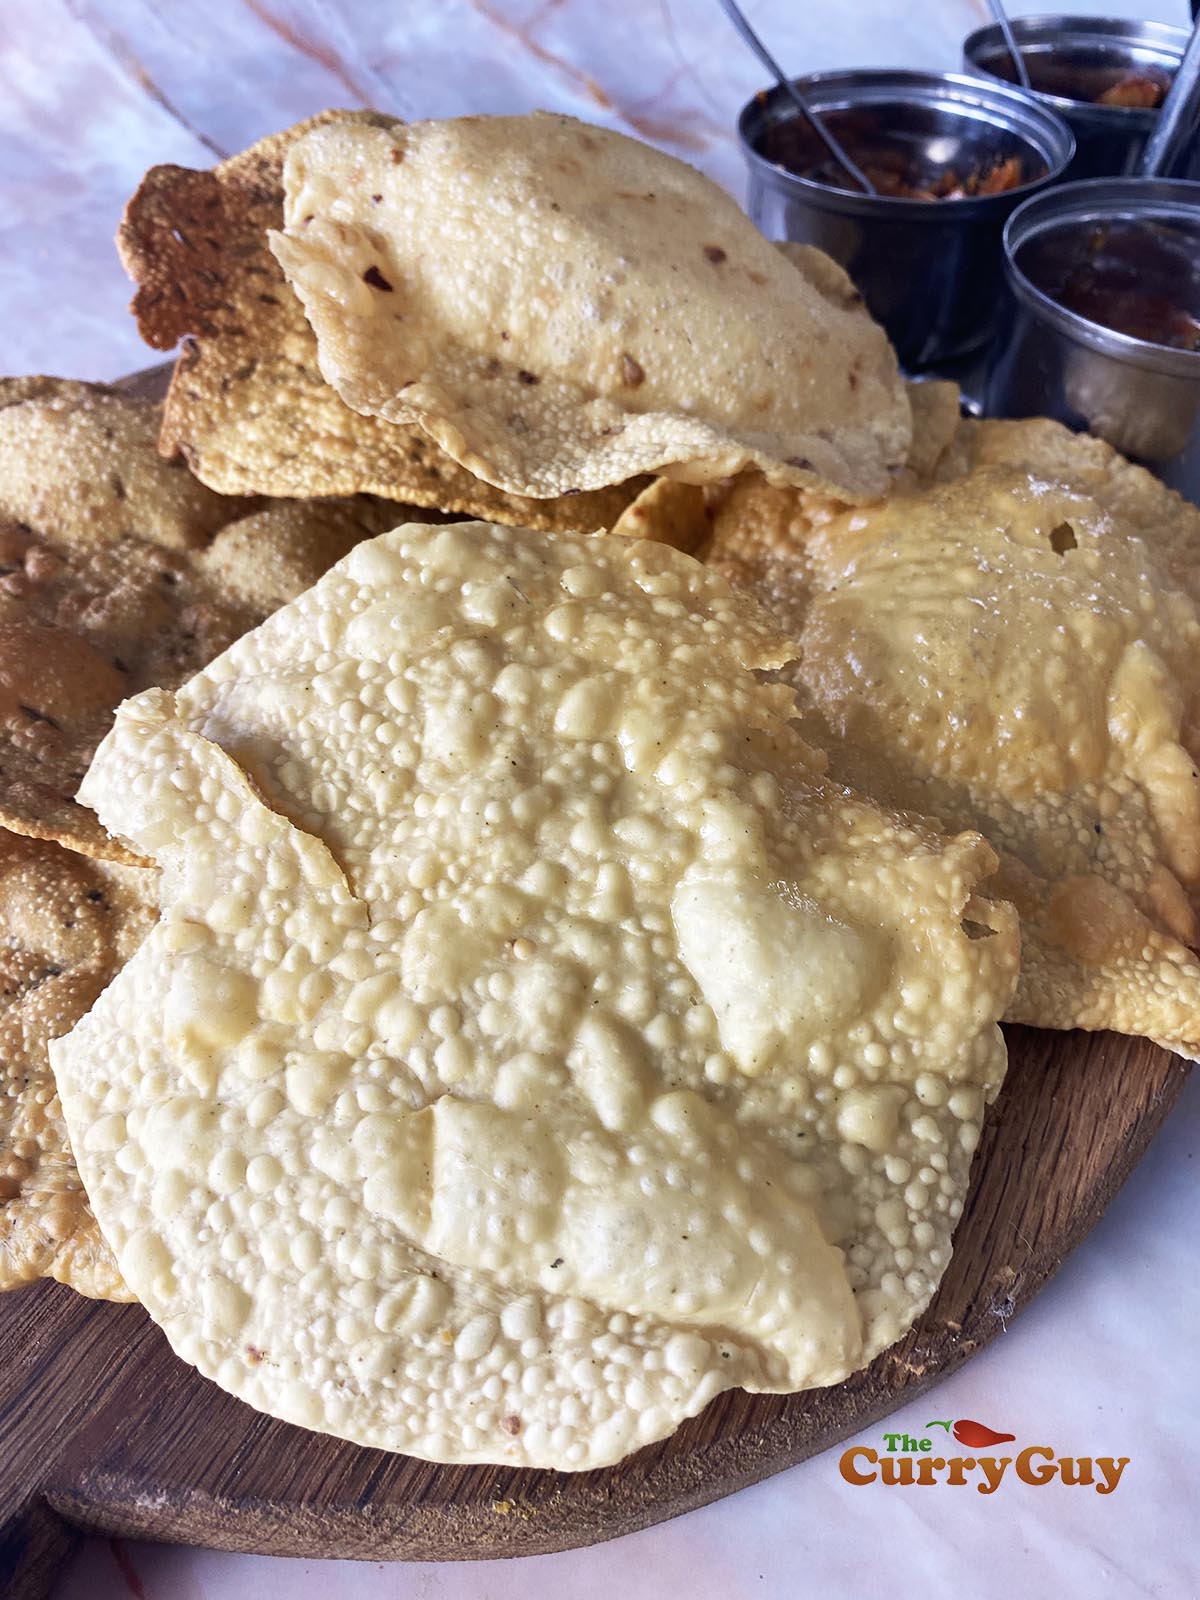

Once you’ve tried this homemade poppadom recipe, You’ll want to make it again and again! This is a homemade poppadom recipe for those who really want perfection. If you have …


I tried the Instant Pot Dual Crisp and Air Fryer and couldn’t believe how good my air fryer onion bhajis were! Many people have told me over the years that …

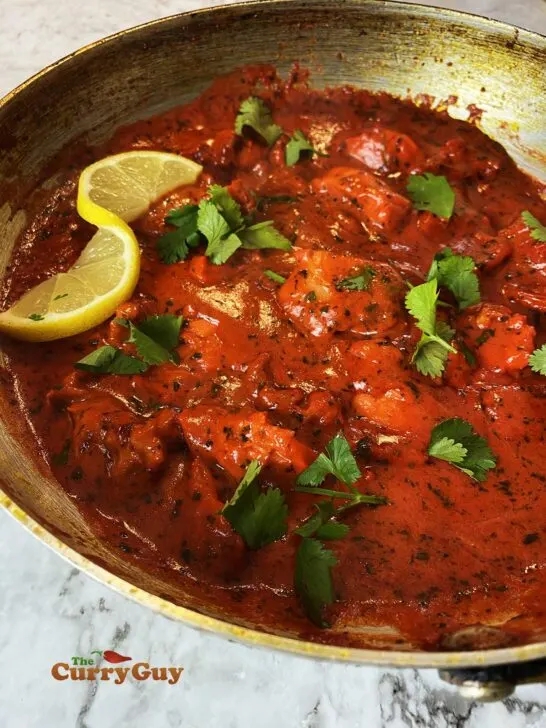
Chicken Chasni – Red or natural… You decide. Many people say that chicken chasni is the new chicken tikka masala. Only time will tell if it is to become one …


If you like chicken coconut curry, you are going to love this version I learned near Mumbai. There are of course many different recipes for chicken coconut curry. This one …

Spicy and delicious… chicken Chettinad is a famous curry from southern India. There are many recipes for chicken Chettinad and I have worked my way through a lot of them. …

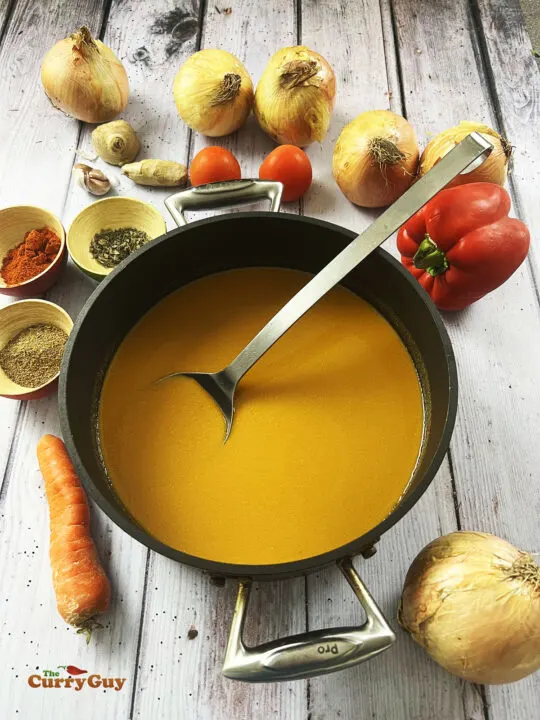
This curry house style base curry sauce will get you the results you’re looking for! Visit the kitchen of any busy curry house and you are almost certain to see …


This is the chicken tikka recipe everyone wants to know. Whether you are making tandoori chicken tikka to eat on its own or add to a chicken tikka masala, this …

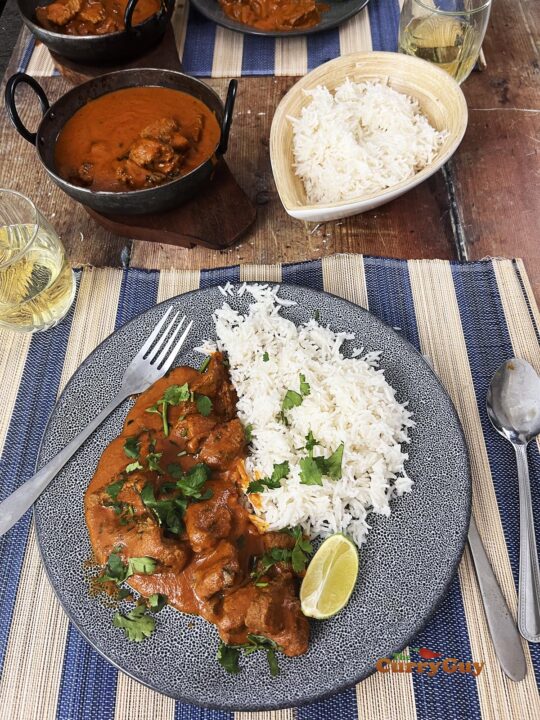
This is a chicken tikka masala recipe just like those you find at the best curry houses. There’s no doubt about it, chicken tikka masala is a firm favourite at …

Chicken chilli garlic curry is a curry house favourite! Now you can make chicken chilli garlic curry that is just as good as, if not better than what you find …
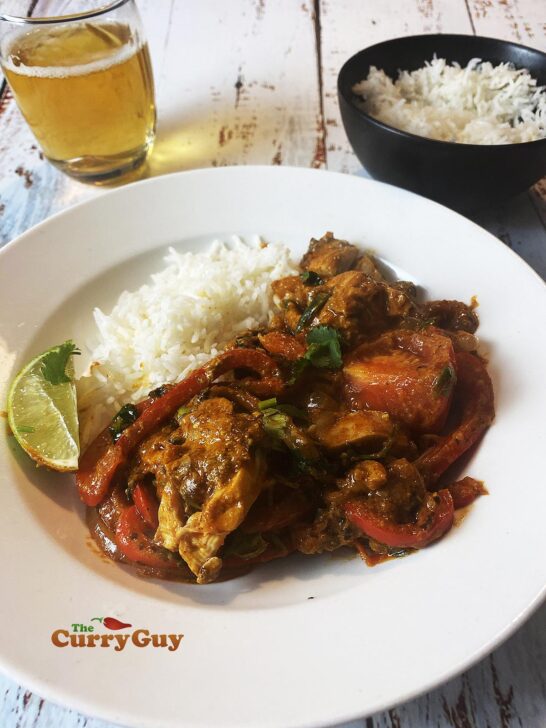
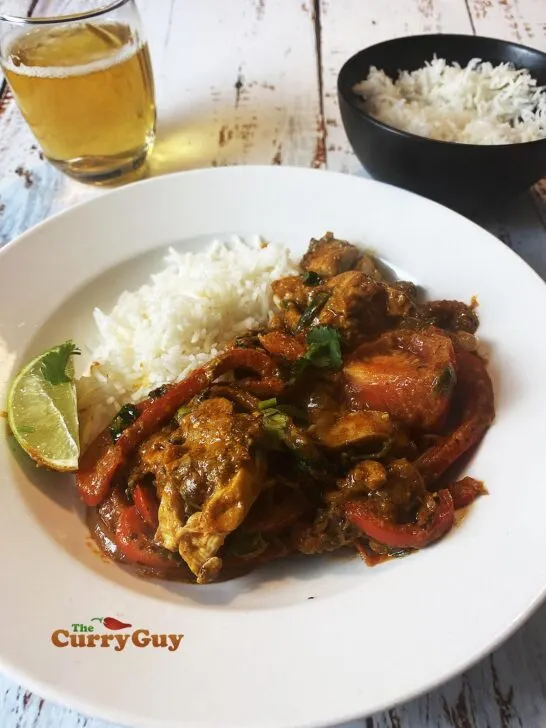
Chicken jalfrezi is one of the easiest BIR chicken curries to make. This chicken jalfrezi recipe is the same as those found in my cookbooks ‘The Curry Guy’ and ‘The …


There is no compromise on flavour in this delicous Air Fryer Chicken Shawarma recipe! Chicken Shawarma is a popular middle-eastern dish traditionally made using thin slices of marinated chicken stacked …
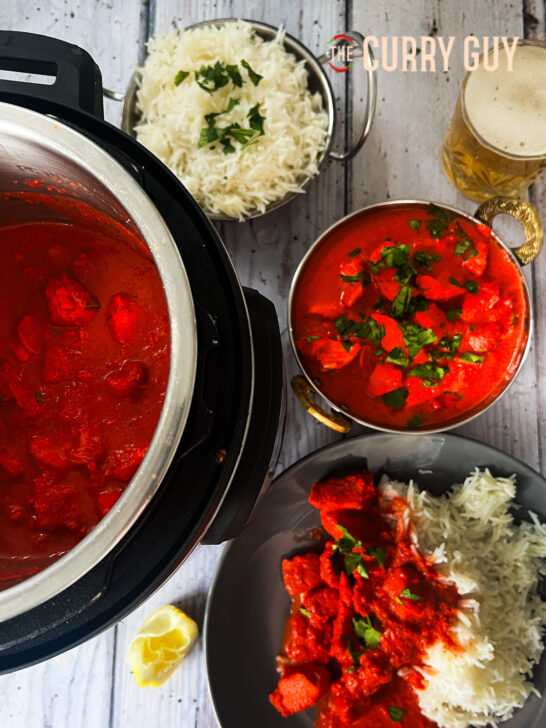

You can prepare this Slow Cooker Chicken Tikka Masala in just 10 minutes! Then, let the slow cooker do all the work for you! This recipe is inspired by the …
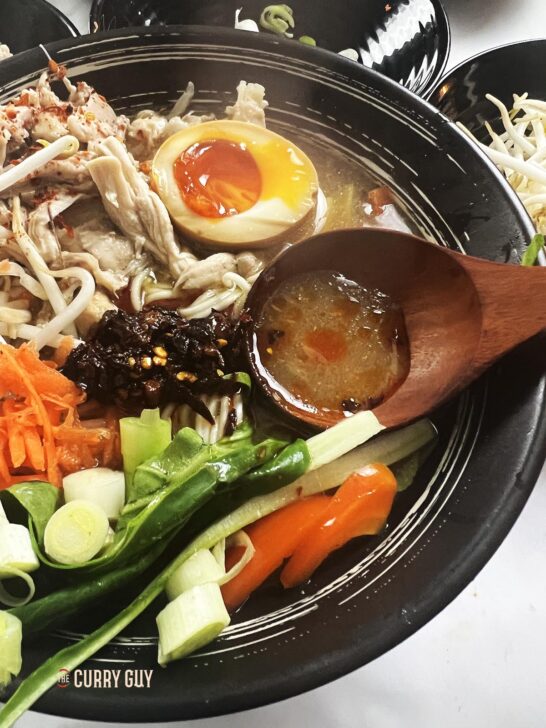

Chicken miso ramen in less than 30 minutes! Give this a try soon! I came up with this recipe one day when I had a little chicken in the fridge …
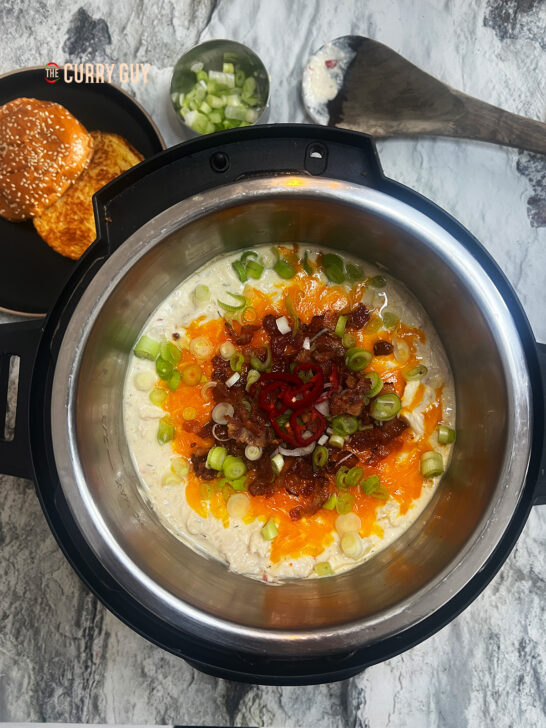

Creamy, cheesy, deliciously spicy and all cooked in your crock pot! This Crack Chicken Crock Pot recipe is so easy and flavourful. What’s not to love? Crack Chicken is a …


In just 20 minutes you can prepare these Crock Pot Birria Tacos and they’re sure to be a flavour explosion. These Crock Pot Birria Tacos are packed with succulent beef …


This Air Fryer Bang Bang Chicken is crispy, spicy and delicious. You can make this in less than 20 minutes! You may have already seen this delicious Bang Bang Chicken …
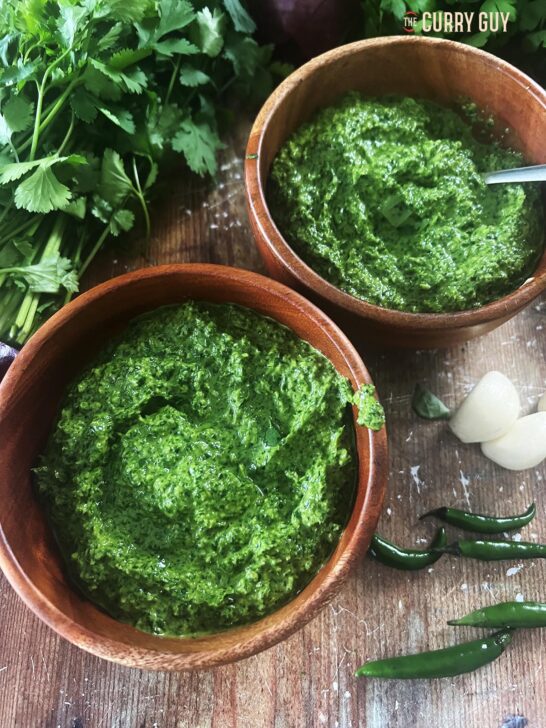

This Asian chimichurri sauce is outstanding with beef and other meats. Who doesn’t love chimichurri sauce with a good steak. In this Asian chimichurri sauce recipe you will get all …


You can make delicious Chicken Korma in the slow cooker, its so easy! Many of my curries on this blog can be prepared in a slow cooker without compromising on …
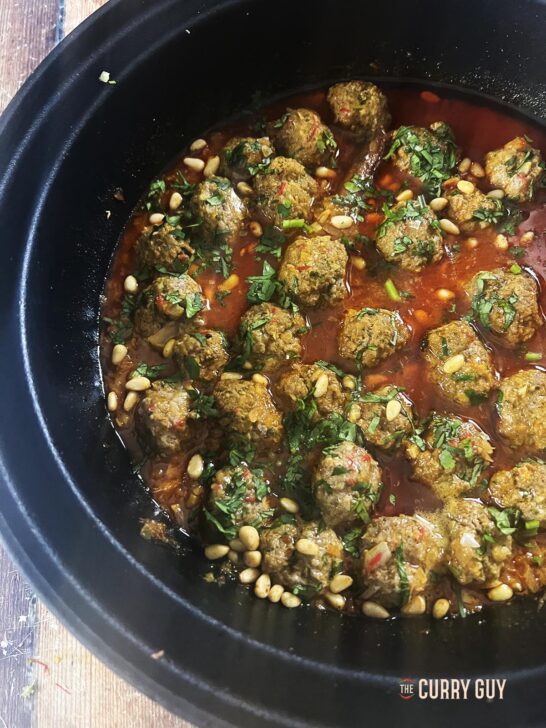
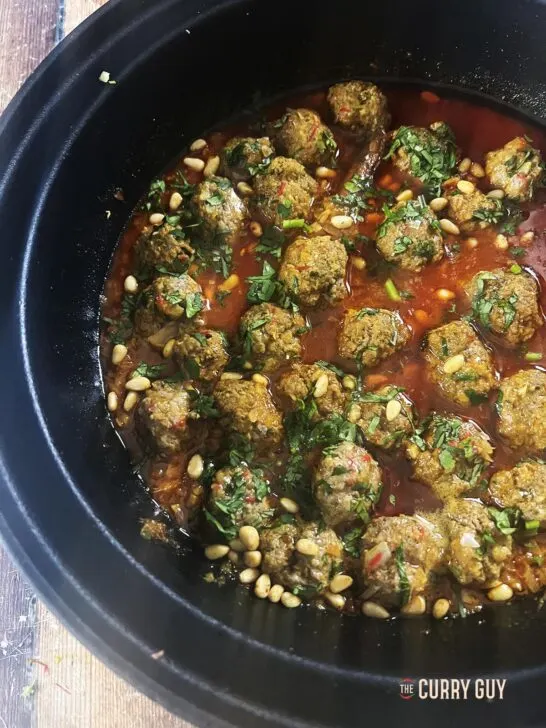
I have been making this Moroccan meatballs dish for years! You’re going to love it. Ever since I travelled to Moracco for the first time back when I was at …

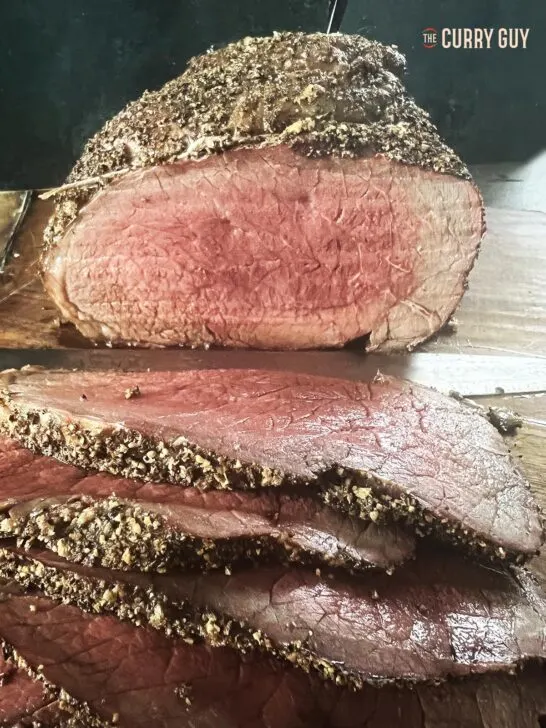
What to know how to cook a top round roast to perfection? Read on… As much as I love to cook a top quality beef rib roast, let’s face it… …